From the moment we pulled up to the sky high, heavily shrubbed entrance with it's decorative block facade I knew I was going to fall in love a million times over and that was exactly what happened. I would live in that hotel in a heartbeat.
I took tons of pictures of the interior of our room in hopes of someday replicating it. The headboard was one of the most dominant features in the room, and what I thought may be the most fun to try to make. So after talking about it for 9 months I finally got around to giving it a try. The results, not perfect, but also not bad for my first try. I will need to redo some things on it, but I'll probably get around to that next year.
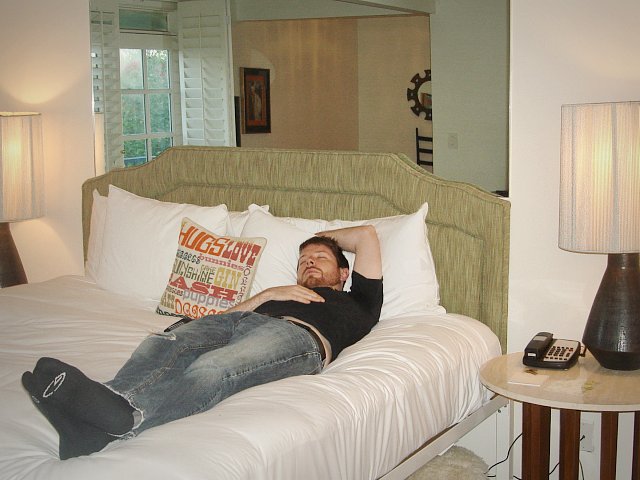
{the headboard at the Parker & jeremy}
Espen and I rounded up the upholstery and padding on Friday night. I had already order upholstery tack strips a few months ago (yes, I procrastinate, I know) so on Saturday morning we headed over to Home Depot to get some plywood and wall mounts.
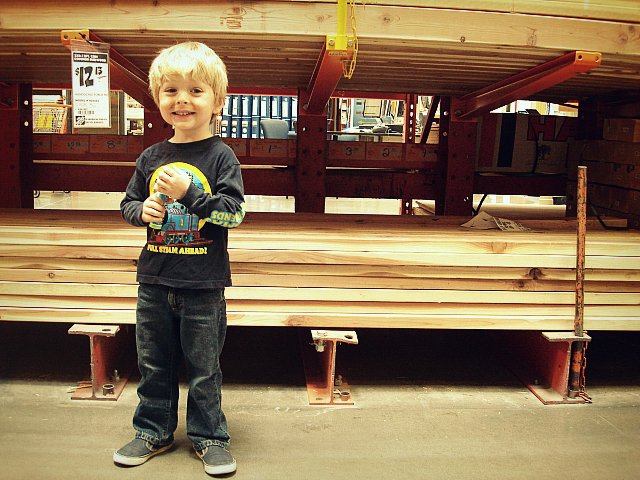
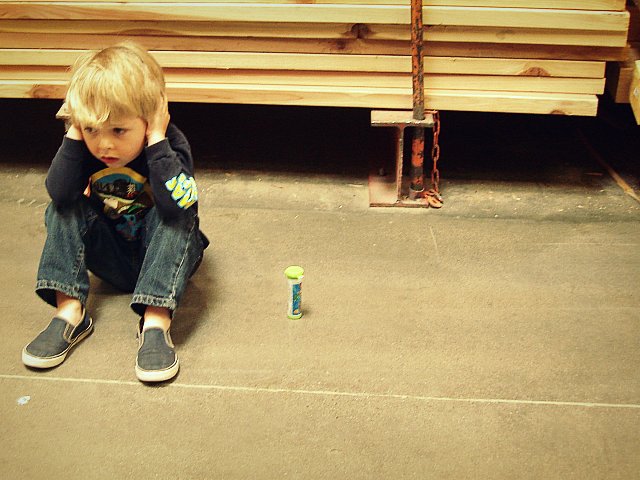
{this kid loves home depot}
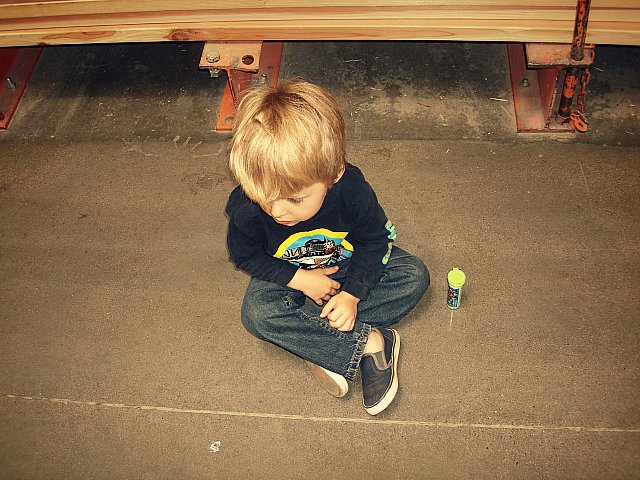
{this is what he calls 'taking a break'}
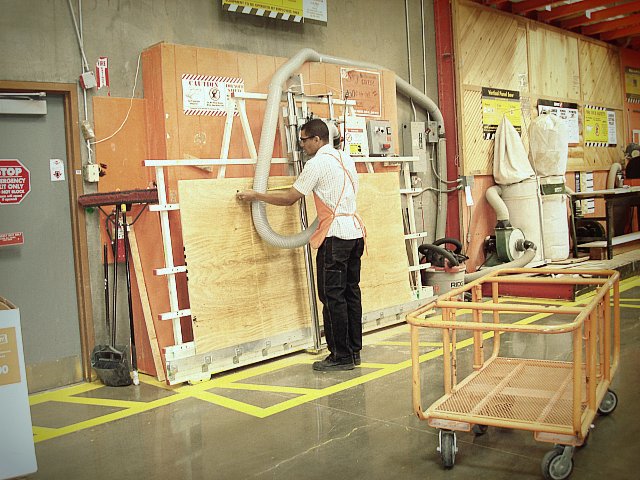
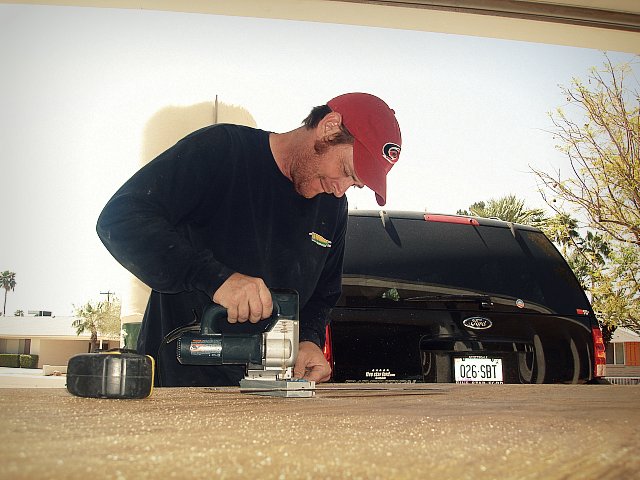
{please cut this to 62"x40" please}
{ear muffs}
After we crammed the plywood and a bear skin rug and espen's bike...into Big Fancy we were off to see Matt Hibbard of Hibbard Custom Cabinets. A very dear friend and such a talented cabinet maker. Seriously, check out his portfolio. Espen was super tired so after he snacked on his happy meal he pretty much crashed.
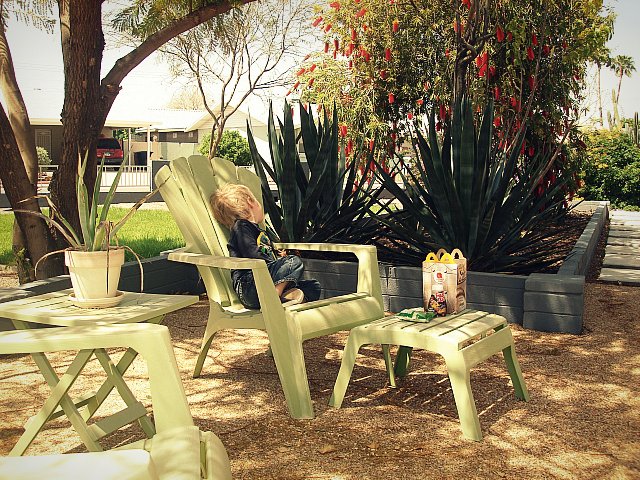
{nap time on the hibbard's front patio}
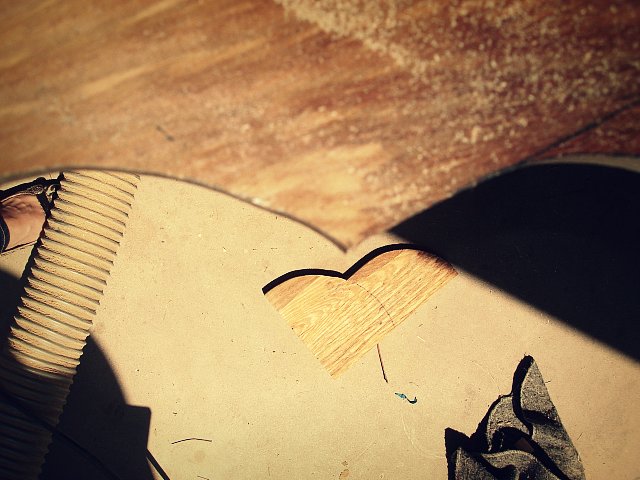
While Espen slept Matt and I worked on the cuts he's was going to make in the plywood. I knew I didn't want a rectangle but I wasn't sure exactly how to draw out the design. At first I had Matt make something that looked more like a butt than anything else. Luckily Matt knows his stuff and after a couple of tries we got the shape that I had envisioned.
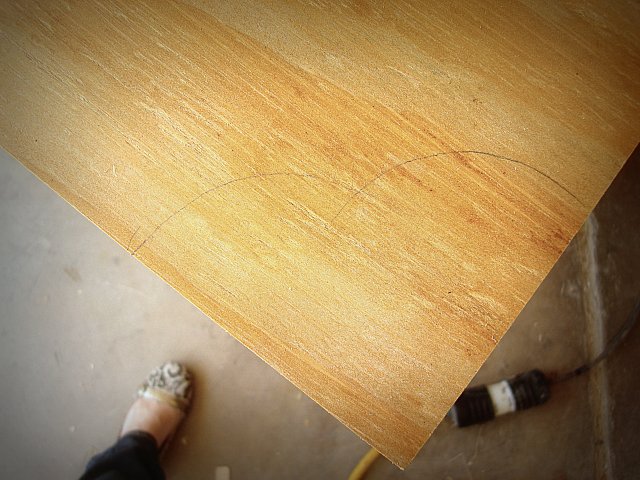
{the butt}
{the wonderful Matt Hibbard}
{beginning to take shape}
Getting this huge piece of heavy plywood upstairs was a bit of a challenge, my arms are still paying for it 4 days later. (maybe my body's telling me to do a few more push ups here and there) Once upstairs though me and my little helper quickly began to work.
What you will need:
1. 3/4 inch plywood
2. talented cabinet maker to cut plywood
3. tacky glue
4. 2" foam pad
5. steak knife or other ultra fancy tool to cut foam
6. staple gun
7. upholstery
8. upholstery tack strips
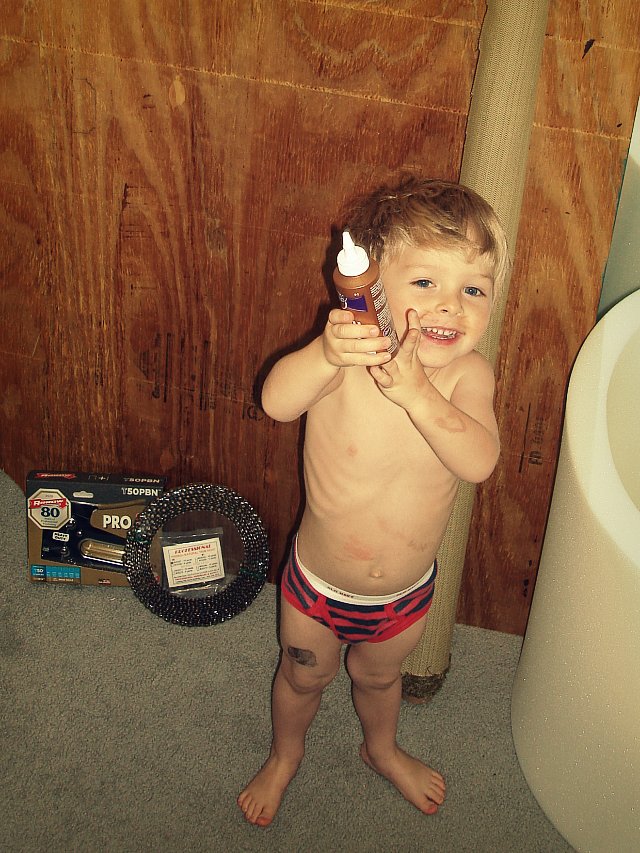
9. cute child in underwear
I laid everything out in the bedroom which was a big mistake since our room is so tiny. I only got around to gluing and cutting the foam before I realized this was definitely a project for the living room. So I dragged everything out near the couch, set Espen up with some online games (Transformers and Star Wars are his new faves) and began to staple away at the material. This part sucked. I can watch a hundred DIY videos on how to upholster things and they make it look SO freakin' easy, it's not. I had the worst time trying to figure out how to pull the fabric around the part I had cut out. Somehow, it came together, but not as nicely as I'd like it.
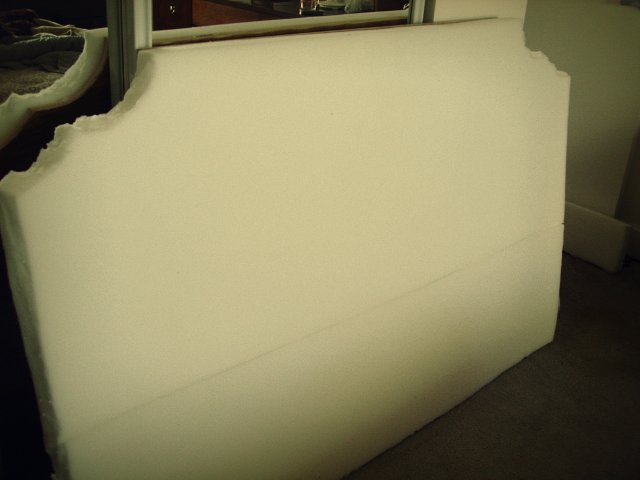
{foam, cut to shape of the plywood}
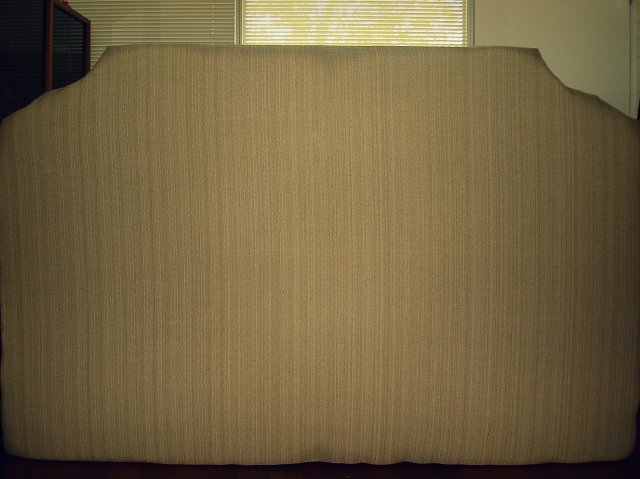
{this is where I started to get nervous, looks a little plain jane}
Skip ahead an hour and one bleeding hand, the upholstery tacks were on. I used the kind that give the appearance that you nailed in 5 hundred tacks down when in fact you are only nailing down every 5th one. See, I thought it would be a great time saver, every 5th one would no doubt cut the process of nailing them down in half...what I didn't think about was that nailing them over 2" thick foam coupled with the fact that I was already having a hard time nailing some in to some parts of the plywood, would leave sections that didn't have a nail for about 1/2 a foot. It ended up making it look like it wasn't a straight line not to mention I kinda goofed up along one of the corners. I'm going to order a new strip of tacks that has only one or two fake tacks in between the actual tack. It may take longer but the end result will be ten times better.
I won't get into the fact that I think I am super woman and thought I would be able to drill into concrete correctly then lift this gigantic headboard two and a half feet off of the ground to hang it on two French cleats. Ya, it was a disaster that left 6 nice size holes in our wall. My back was breaking so I ended up propping it up on a plastic bin that was under our bed and smushed it between our bed and the wall.
In the end, I think it turned out, well, okay...actually, better than okay. Not perfect but really, not bad for not having a clue what I was doing.
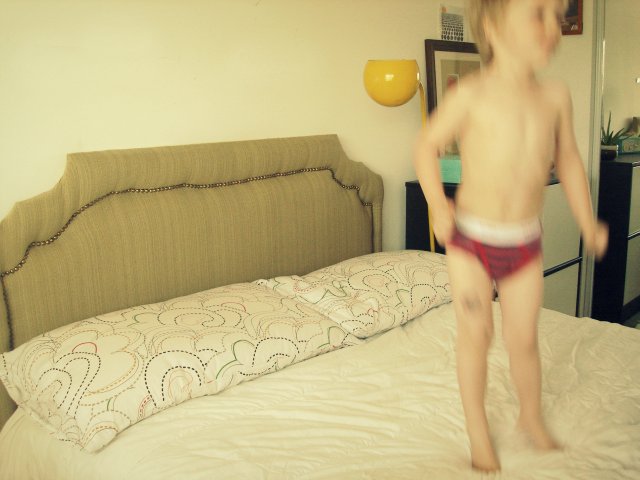

{done & done, kind of}


1 comment:
It looks fabulous!!!!! I love it! Yay!!!!
Post a Comment